Cursor AI is a modern, AI-powered coding environment designed to enhance productivity by integrating powerful LLM assistance directly into your development environment. It’s built on top of VS Code, but adds features like chat-based code generation, file-aware refactoring, and inline debugging support.
If you’re a security engineer, analyst, software developer, or just someone that wants to start coding with AI support — Cursor could be very worth exploring!
This guide walks you through how to install Cursor AI - starting with a working example on Ubuntu (Linux).
 Step-by-Step Guide: Installing Cursor AI
 1. Visit the Official Download Page
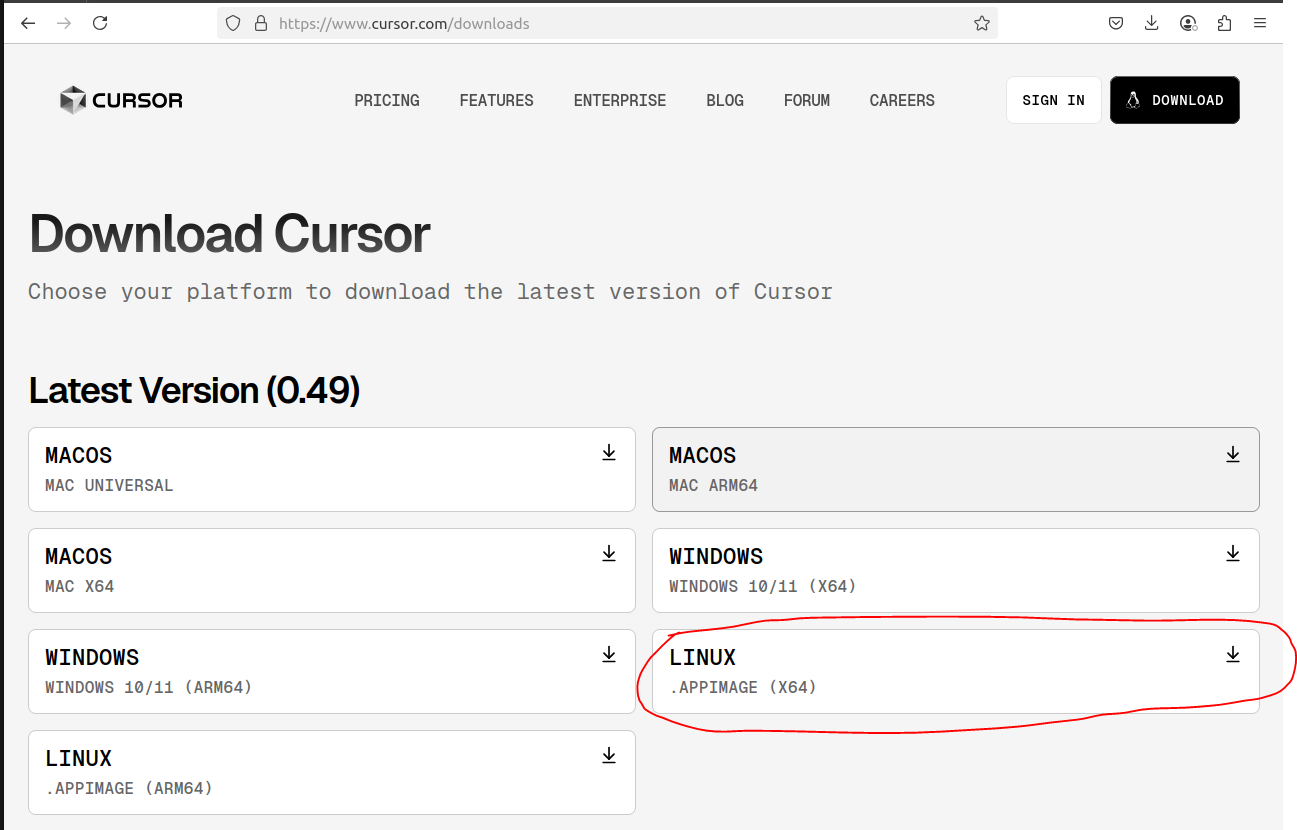
Go to: https://www.cursor.com/downloads
You’ll find versions for macOS, Windows, and Linux (AppImage).
 Example: Installing on Ubuntu (via AppImage)
Step 1: Download the AppImage
Visit the Cursor Download Page and pick the latest version for your platform. For Ubuntu or other x86_64-based Linux distributions, choose the .AppImage (X64) version.
To check your platform type:
- On Linux, run:
uname -m— if it showsx86_64, download the X64 version.- On Windows, open PowerShell and run:
[System.Environment]::Is64BitOperatingSystemIf it returnsTrue, you’re on a 64-bit OS and can use the (X64) version.
My terminal in Ubuntu returns x86_64, so I will pick the Linux .AppImage (X64) version.

Download the file manually via your browser (recommended), or use a direct link if provided on the site.
Downloading the Linux x86_64 Cursor AI (this may be different for you depending on your platform):
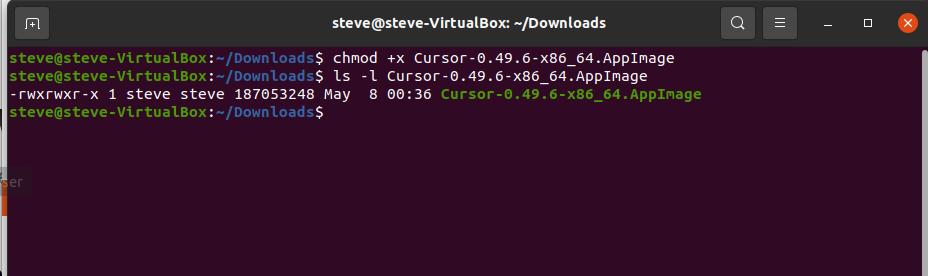
Step 2: Make It Executable
Navigate to where your file was downloaded. This will most likely be in your Downloads directory.
Modify the permissions to make the file executable
chmod +x Cursor-0.49.6-x86_64.AppImage
Note: The version number (e.g., 0.49.6) may differ depending on the latest release. Use the file name of the downloaded AppImage.
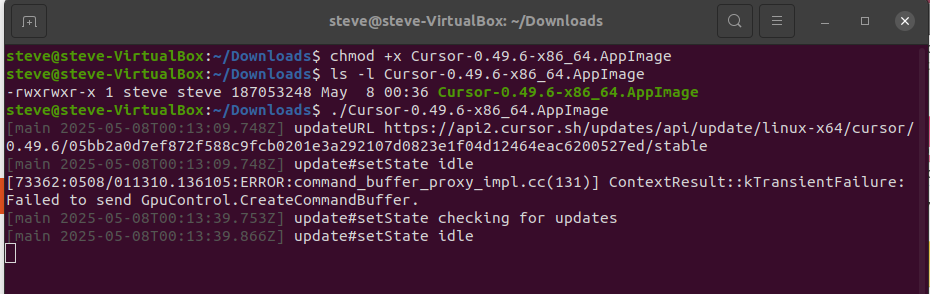
Step 3: Run Cursor
./Cursor-0.49.6-x86_64.AppImage
If everything is working correctly, you should see output similar to this:
You may want to move it to a different directory (like
/opt/) and create a desktop shortcut.
 macOS &
  Windows Users
- macOS: Download the .dmg file, double-click to mount it, and drag Cursor to your Applications folder.
- Windows: Run the .exe installer, follow the prompts, and launch Cursor from the Start menu.
Step 4: Log In or Sign Up
Once Cursor launches, you’ll be greeted with a welcome screen prompting you to sign in or create an account.
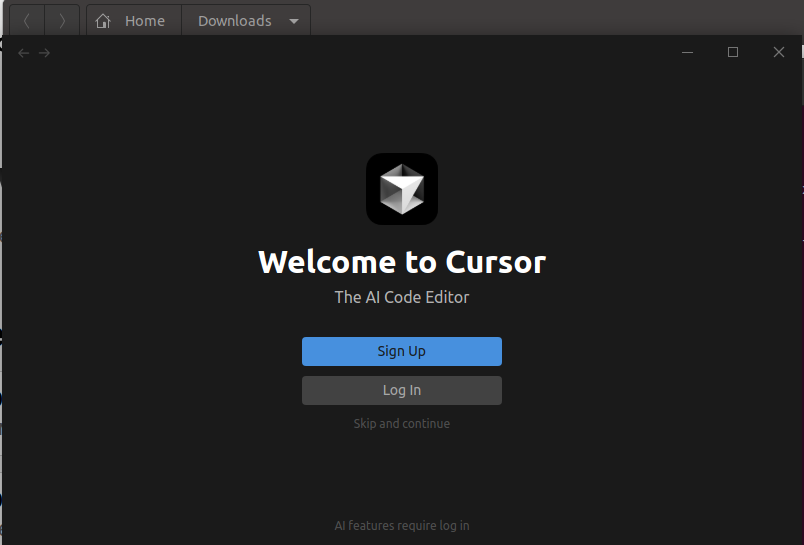
You can choose to:
- Sign up with your email or GitHub
- Log in if you already have a Cursor account
- Use "Skip and continue" (note: limited features)
AI functionality like chat, inline assistance, and project-wide awareness requires logging in.
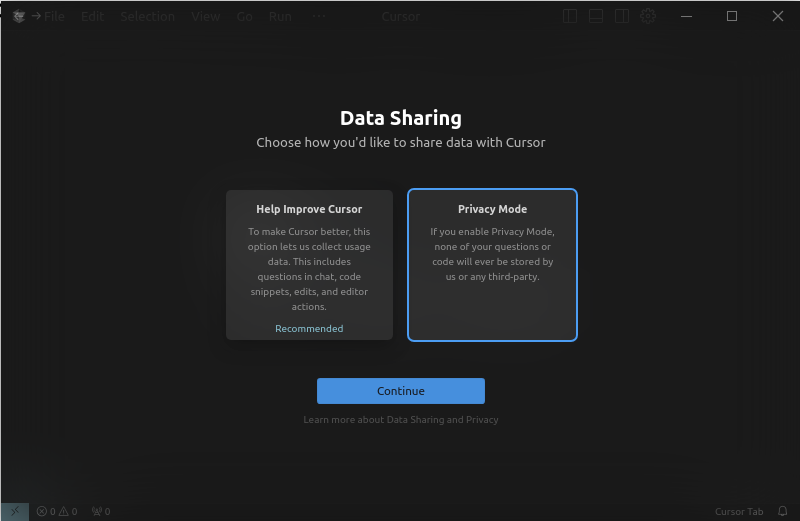
Step 5: Data Sharing and Privacy Mode
Cursor will ask how you’d like to share usage data. If you’re handling sensitive code or privacy matters, I recommend choosing Privacy Mode.
You’ll have two options:
- Help Improve Cursor: Sends anonymized prompts, code snippets, and usage telemetry to Cursor and model providers to improve their services.
- Privacy Mode: Enables zero data retention. Your code and prompts are still routed through Cursor’s backend (even if using your own API key), but nothing is stored, logged, or used for training—by Cursor or any third party.
Important: Even in Privacy Mode, your data is temporarily sent to Cursor’s servers, where it is encrypted and used solely to construct the final prompt for the AI. Cursor explicitly states that no data is saved or retained in this mode.
You can read more in the official Privacy Policy and Privacy FAQ.
Make your selection and click Continue.
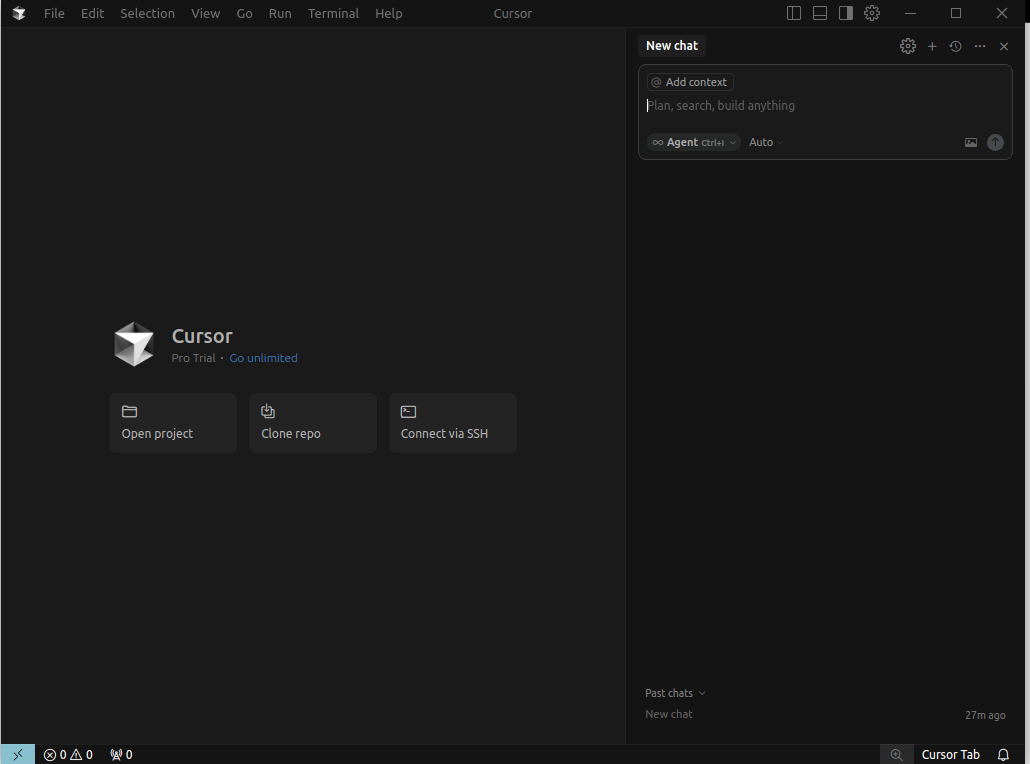
During the setup wizard, select your preferred language (e.g., English) and click Continue.
You’ve successfully installed Cursor AI—time to start coding with Cursor AI’s awesome features!
 What Makes Cursor Useful?
- Built-in AI chat assistant that understands your entire project
- AI-powered code completion, refactoring, and command-line generation
- Built on VS Code, so it supports your familiar extensions and keybindings
- Excellent for Python, Bash, YARA, JS, and common scripting languages
- Great for script review, automation help, and quick prototyping
 Privacy Considerations
Cursor AI sends code to OpenAI by default. Make sure you:
- Avoid uploading sensitive/private code
- Review Cursor’s Privacy Policy
- Use in non-sensitive environments or personal test labs (e.g. Ubuntu VM)
- Set the data collection policy to ‘Private’.
Bonus Tips
- Cursor works well even without code — try pasting snippets into a new file and asking for review or rewrite
- You can connect it to your own OpenAI API key for more control
- Supports inline chat, not just a sidebar bot
To use your own OpenAI API key, go to Cursor’s settings after login. See Cursor’s documentation for details.
 What do you think?
Have you tried Cursor AI? How does it compare to CoPilot, Codeium, or your current editor?
Reply below and share your use cases or questions!